
AI-powered orchestration in the terminal
Operate Xyte with command-line clarity.
@xyteai/cli operates your Xyte fleet from the terminal — for operators typing
commands and for shell-capable AI agents and CI jobs running them for you. It exposes the real
commands from install to tenant setup, fleet inspection, console workflows, and exportable PDF or
JSON handoff artifacts. You need a Xyte account, an API key from your Xyte admin, and Node.js 22+.
What to ask your admin →
See it in action
Install
Three ways to get running.
Using an AI agent? Hand it the prompt — it runs xyte-cli doctor environment --format json
and follows the recommended install mode from the report. Manual terminals install the package globally, connect an
API key, and verify readiness. Then move into fleet inspection, incident watch, or report generation.
Before you start: in Xyte, open Settings → API Keys and create a key. Save it in a plain text file outside your project folder (for example xyte-api-key.txt on your Desktop) — any text editor works. Your agent will ask for the file's path.
Paste this into Claude Code, Codex, or Copilot Agent mode:
Use @xyteai/cli in this workspace.Never print secrets. Do not invent IDs or outputs.
First run `xyte-cli doctor environment --format json`.If `xyte-cli` is missing, run `npx -y @xyteai/cli@latest doctor environment --format json`.Follow the report's recommendations.nextCommand and recommendations.commands.
If `xyte-cli setup status` shows no connected profile, ask me for the path to my API key file (never the key itself) and connect it with the report's setupKeyFile recipe.Do not ask me to paste API keys into chat.Do not store API keys inside the repo.After setup succeeds, offer to delete the key file, then run `xyte-cli init --scope project --agents all --force --no-setup`.
If this surface cannot run shell commands, stop and say I need a shell-capable terminal or agent.- In Xyte, open Settings → API Keys and create a key.
- In your CI tool (GitHub Actions, GitLab CI, Jenkins), add a secret named
XYTE_CLI_KEYand paste the key as its value. - Make sure the job receives the secret as an environment variable — in GitHub Actions add
env: XYTE_CLI_KEY: ${{ secrets.XYTE_CLI_KEY }}to the step; GitLab CI passes variables automatically. - Add these commands to your pipeline. The setup command stores the key under the default profile.
printf "%s" "$XYTE_CLI_KEY" | npx -y @xyteai/cli@latest setup run --non-interactive --key-stdin --format jsonnpx -y @xyteai/cli@latest setup status --field tenantIdThis CI path is read-oriented by default. Use plan-mode flows for change workflows and reserve apply steps for a separate approved job. For reproducible builds, pin a known version (@xyteai/cli@<version>) instead of @latest.
# Manual terminal: global installnpm install -g @xyteai/cli@latestxyte-cli init --no-setupxyte-cli --versionConnect and verify
-
01
Connect the API key once
Create an API key in your Xyte tenant under Settings → API Keys and save it in a file outside your project folder. Run interactive setup once, or use the documented stdin flow for automation. The key prompt hides input and confirms with a
Received N characters.line. Persisted credentials default to macOS Keychain, Windows DPAPI, or Linux Secret Service. xyte-cli setup run - 02 Read readiness back out Confirm the profile is connected and use that profile label for subsequent commands. xyte-cli setup status --field tenantId
- 03 Start with read-oriented workflows Watch incidents, inspect devices, open console screens, or generate PDF reports.
Start by situation
Choose the state you are in.
Pick the path that matches why you opened the CLI. Each path starts with discovery, uses rendered docs, and keeps write-capable actions behind a plan or approval gate.
Connect the API key, verify readiness, and prepare the workspace for an agent, terminal, or CI job.
Start setup I need today’s statusCreate current fleet source data and a readable report for a handoff or customer update.
Create report Something is brokenRead active incidents, compare what changed, and collect fleet context before remediation.
Triage incidents I’m onboarding devicesChoose native/direct or Edge claiming, discover Edge models and parameter labels, and run only after the target is clear.
Plan onboarding I need Edge parameters changedPlan full-replacement custom parameter updates on already-claimed Edge devices and verify read-back.
Plan updates I want automationRun setup, reports, incident checks, and plan-only workflows from CI or a shell-capable agent.
Build automationGuides
Start with what you need to do.
Start with what changed: setup is missing, incidents changed, a report is due, spaces were reorganized, devices need onboarding, or a job needs automation.
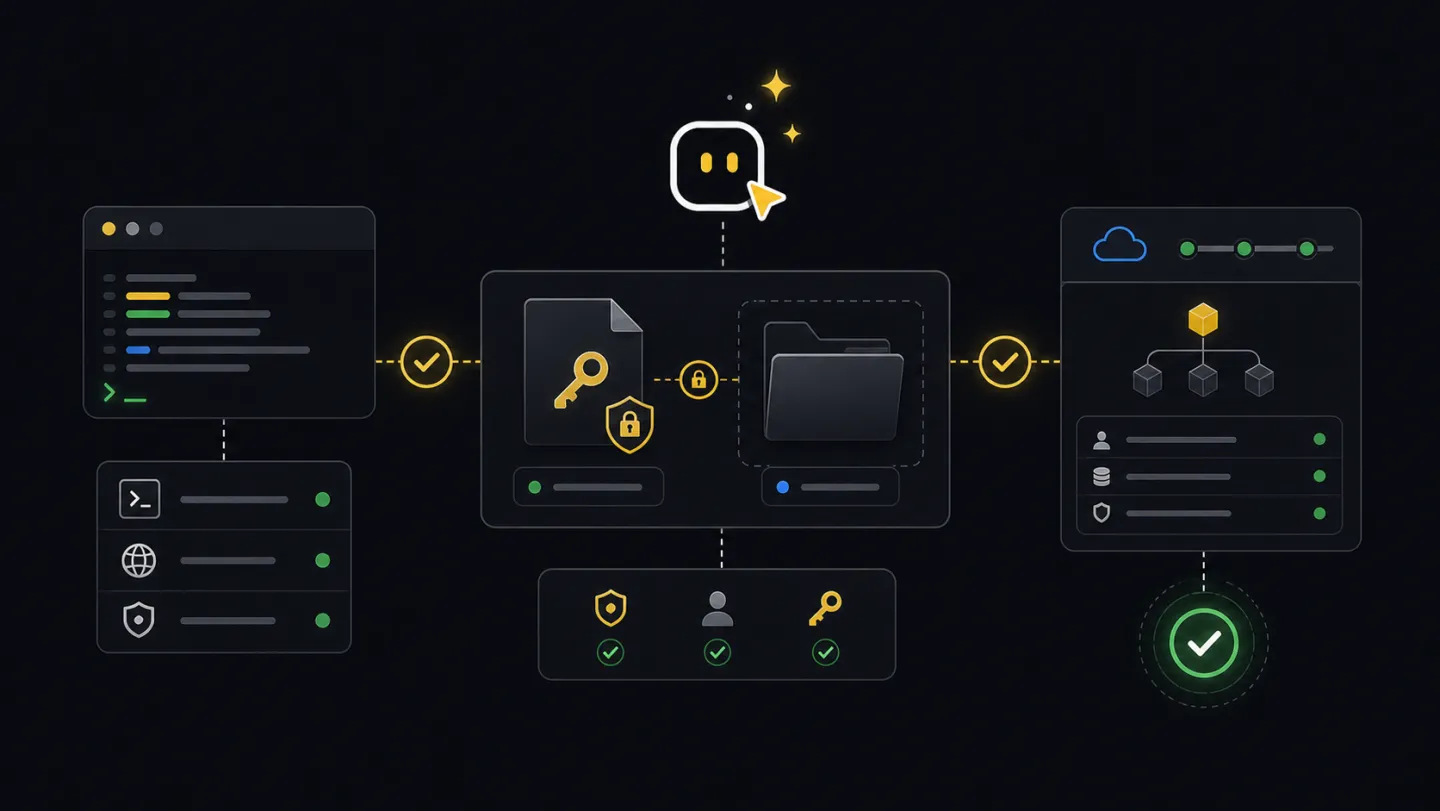
Use when a machine, workspace, or profile is new and later workflows depend on connected credentials.
Open guide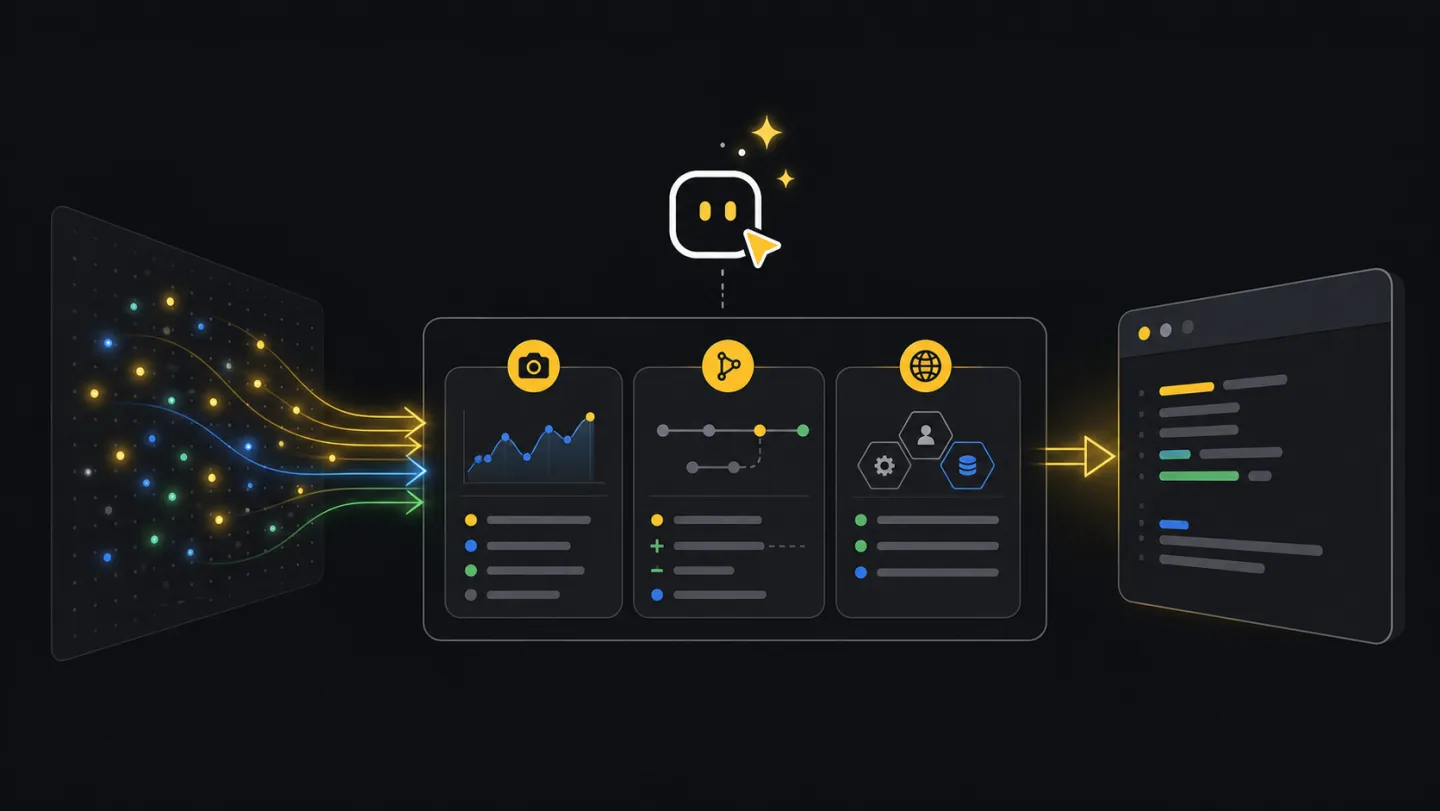
Use when incident state changed and support needs active counts, deltas, and fleet context.
Open guide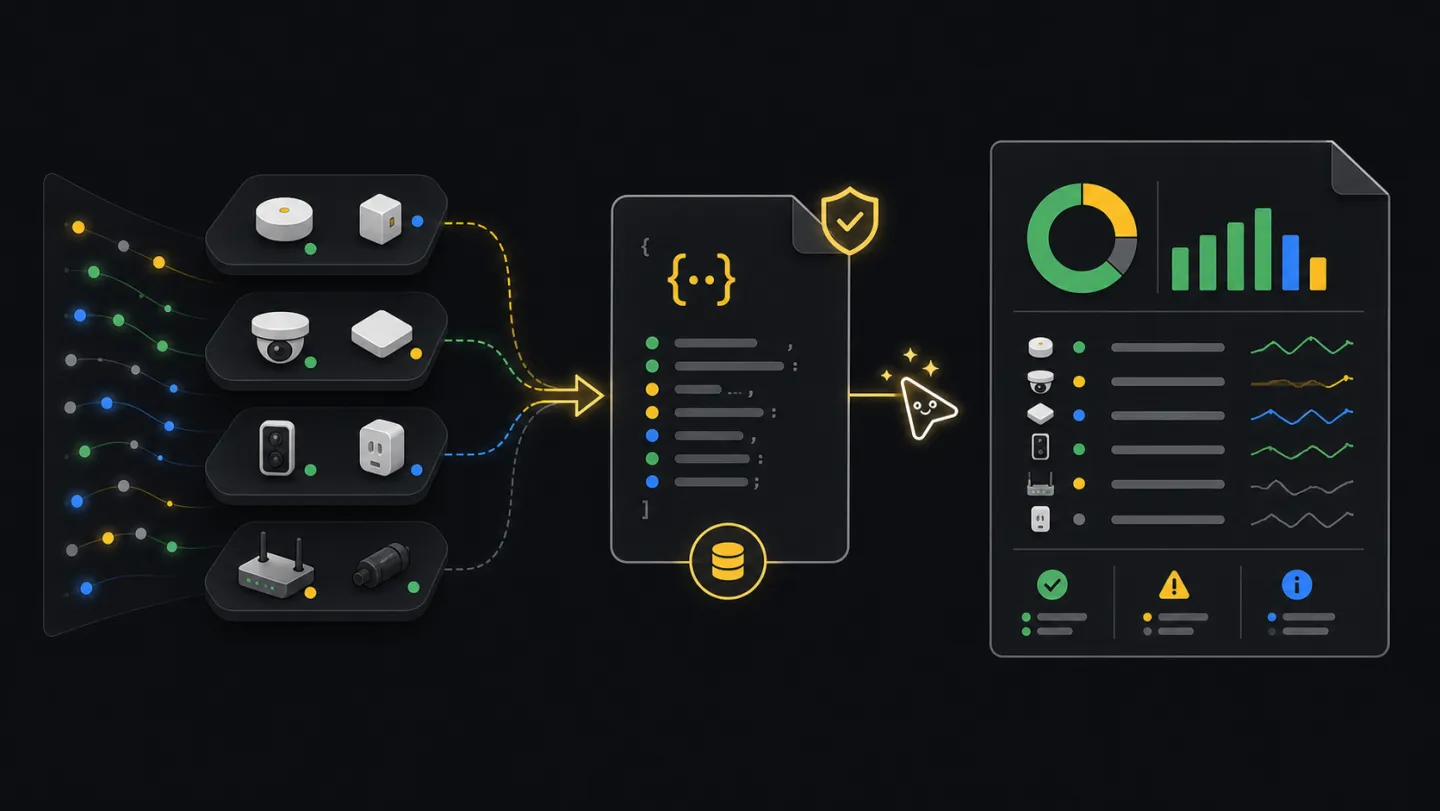
Use when a scheduled update or customer handoff needs current counts and a reusable source file.
Open guide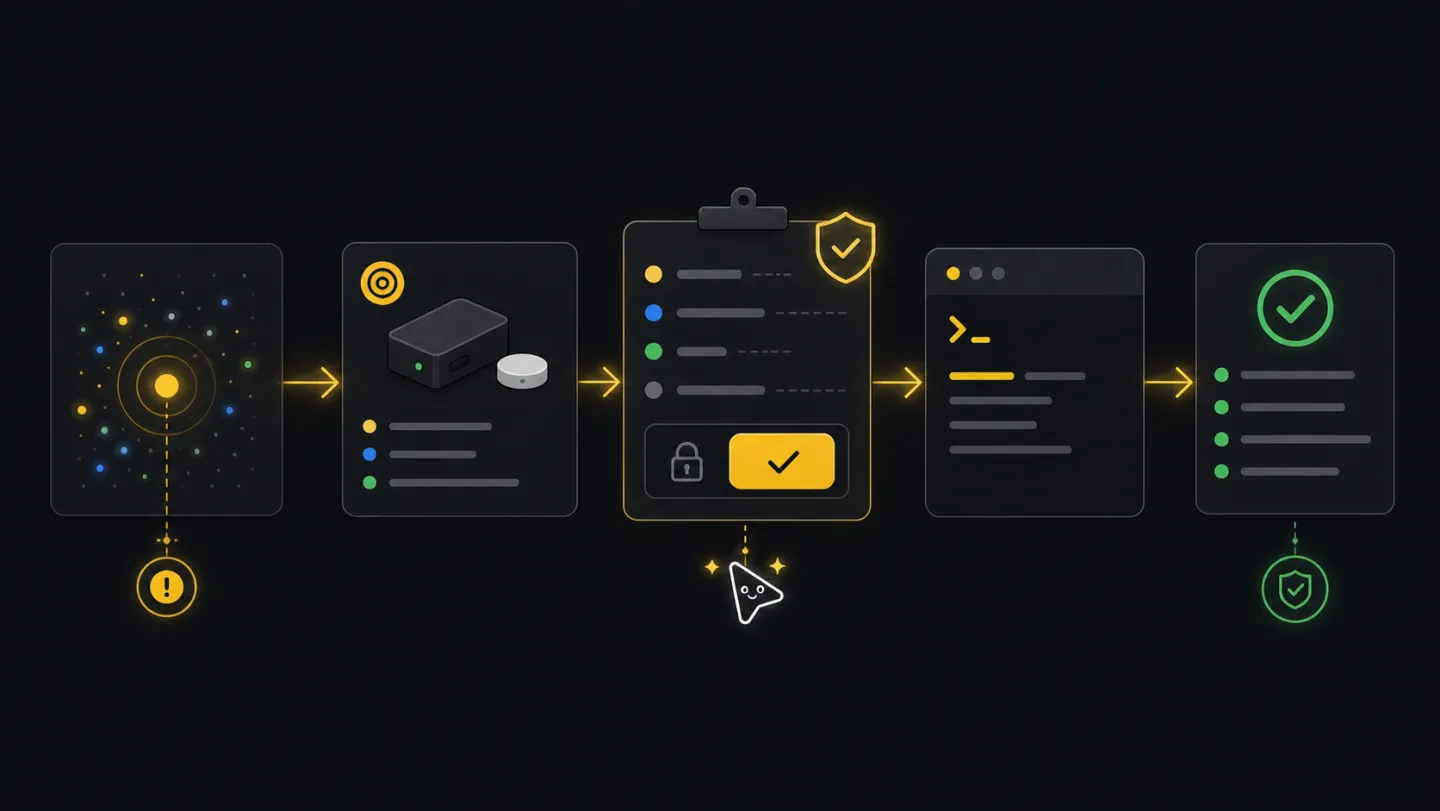
Use when triage found a real issue and the next step might change device, incident, or ticket state.
Open guide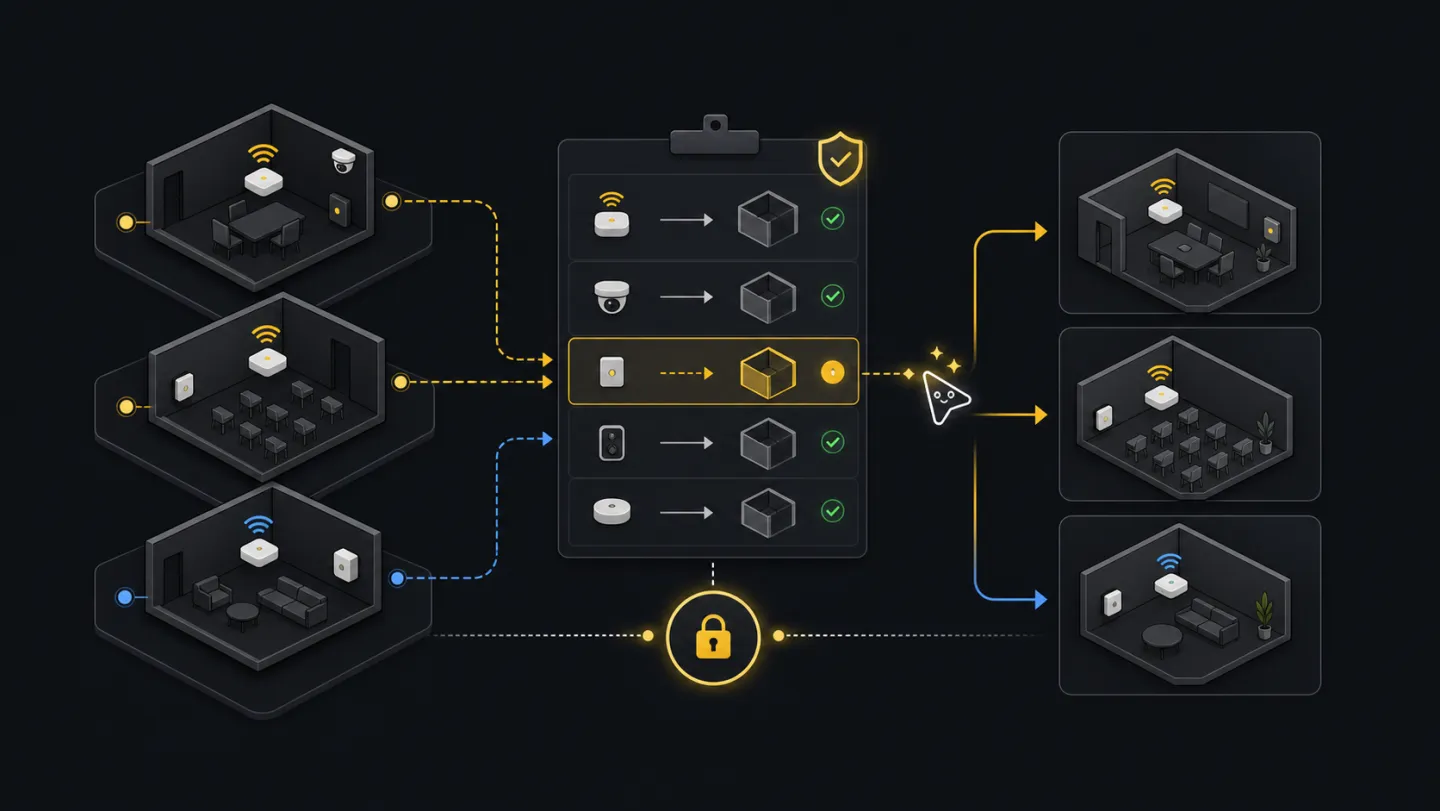
Use after a room plan, import, rename, or split makes existing device placement wrong.
Open guide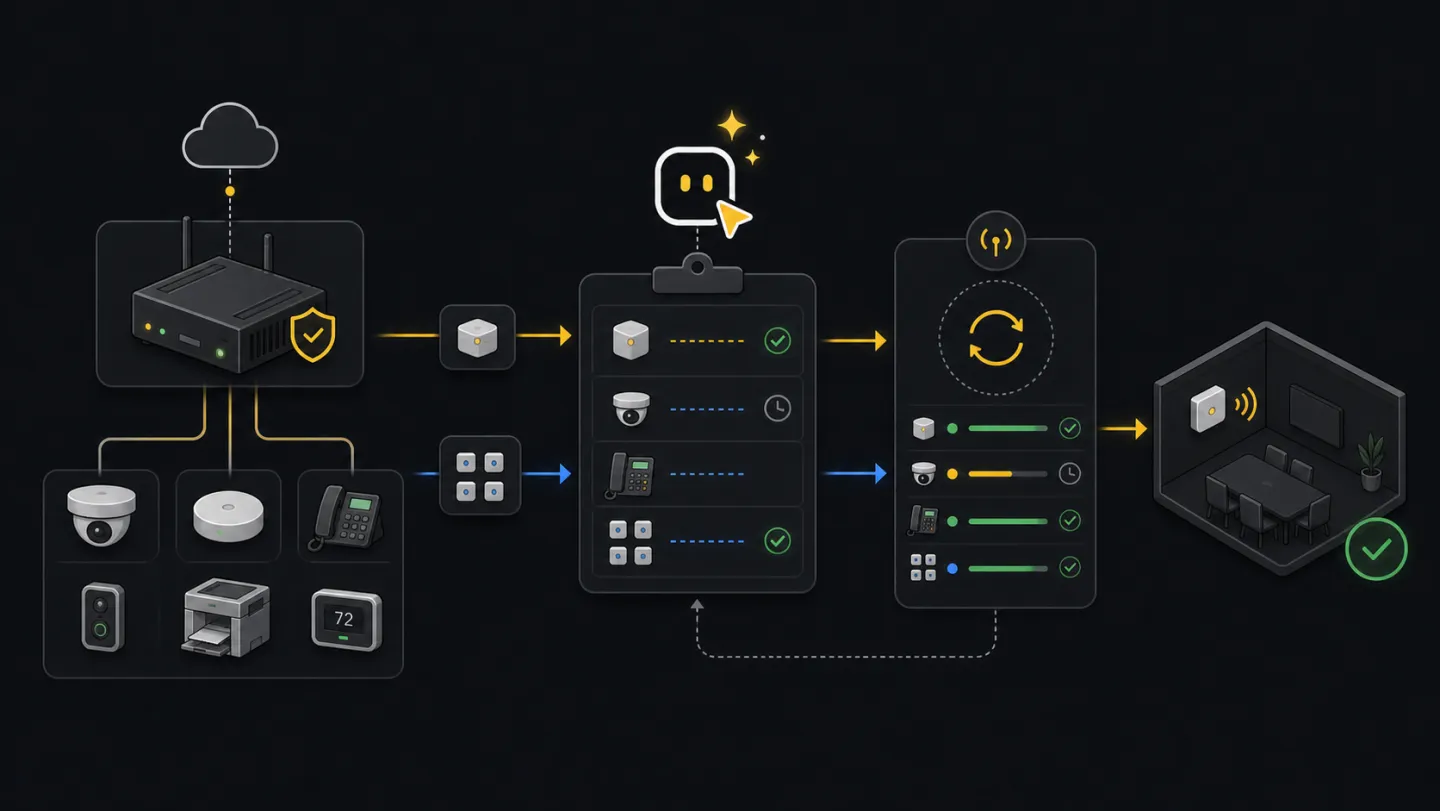
Use when native/direct devices or Edge devices need a clear claim path, reviewed inputs, and a result to hand off.
Open guideUse when already-claimed Edge devices need model-validated parameter changes with report and resume artifacts.
Open guide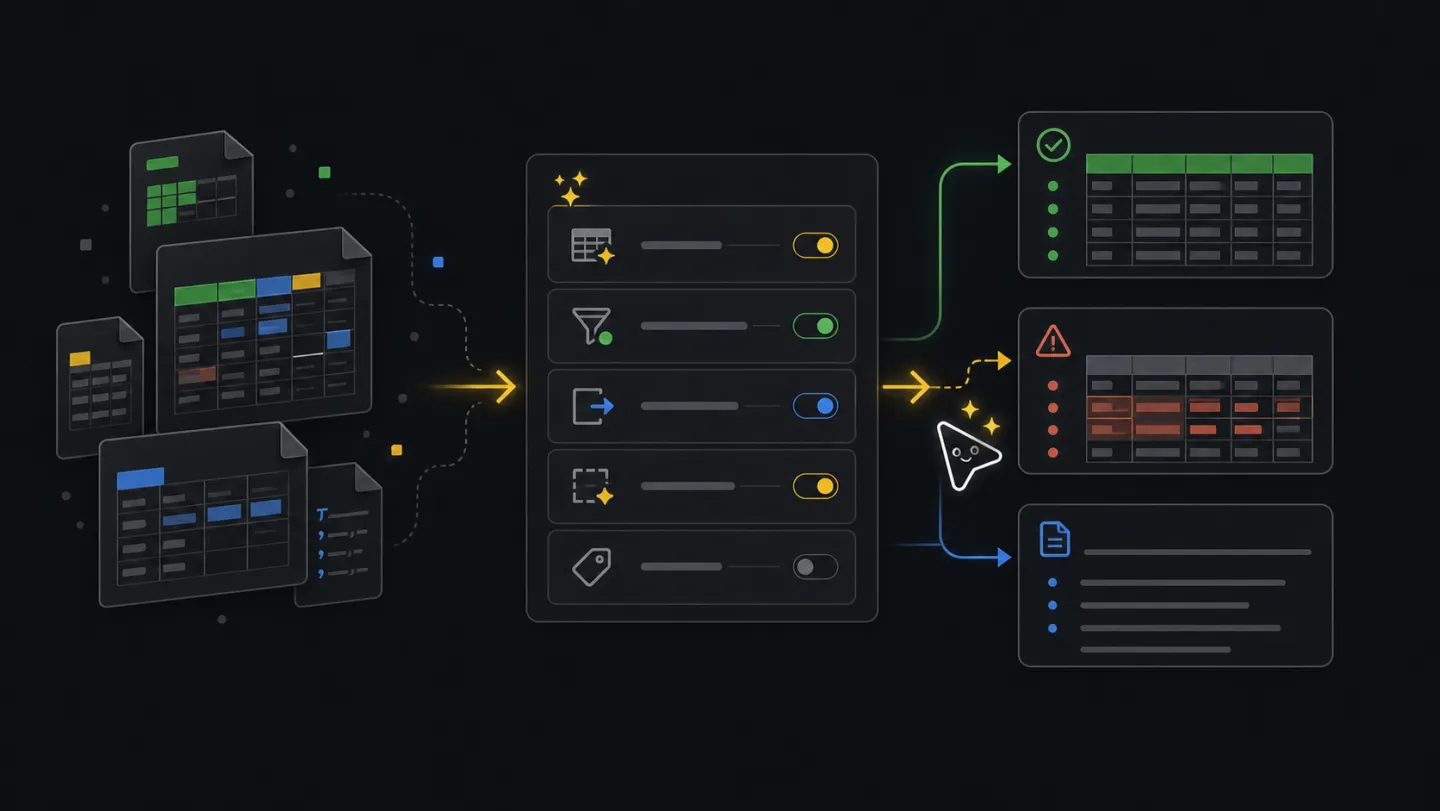
Use when a spreadsheet is understandable to people but still not ready for a CLI workflow.
Open guide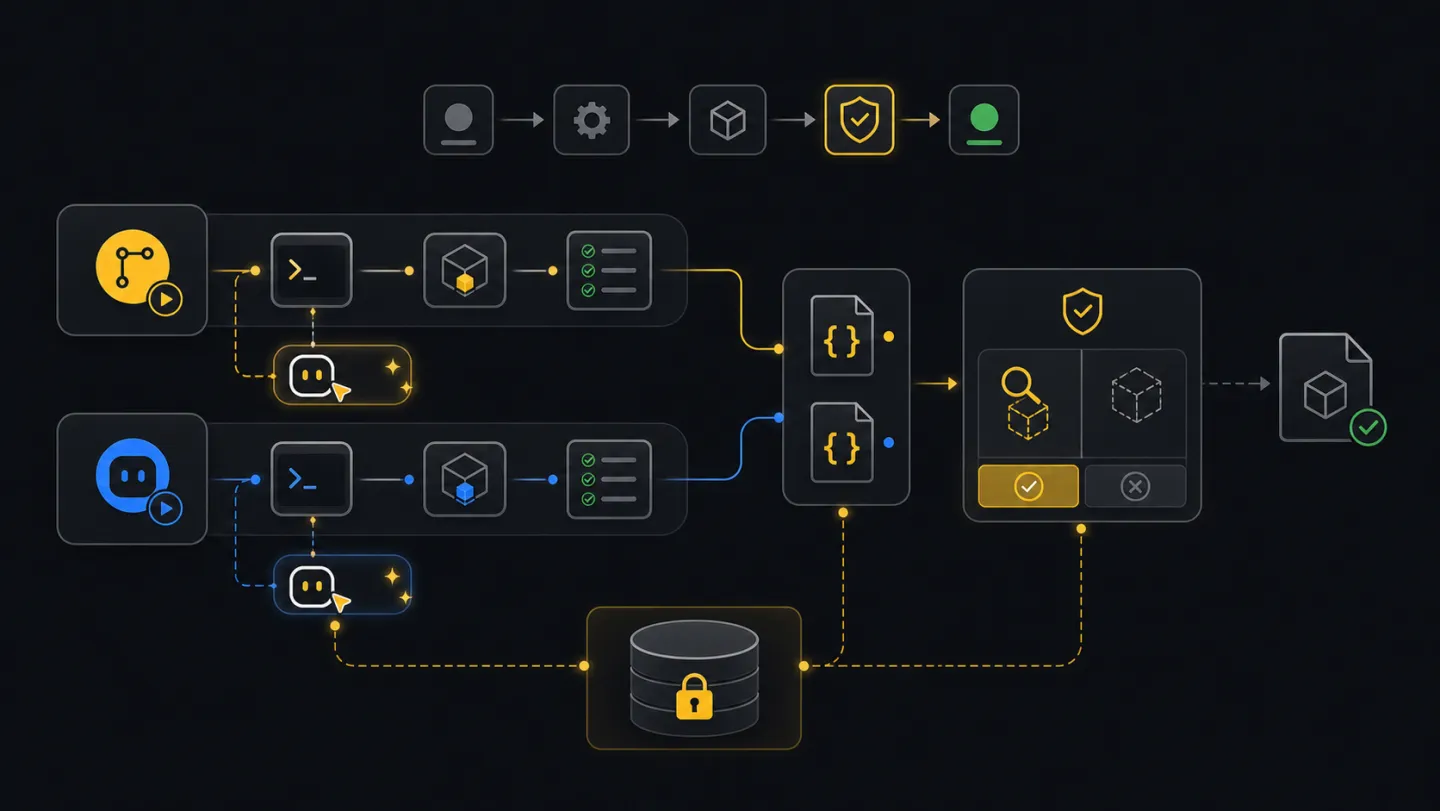
Use when a pipeline or shell-capable agent needs repeatable checks, artifacts, and approval gates.
Open guideBrowse the full guide library by operator goal.
Open libraryReference docs
Look up exact behavior.
Guides for first-run onboarding, full command reference, agent integration patterns, flow authoring, and schema contracts for machine-readable outputs.
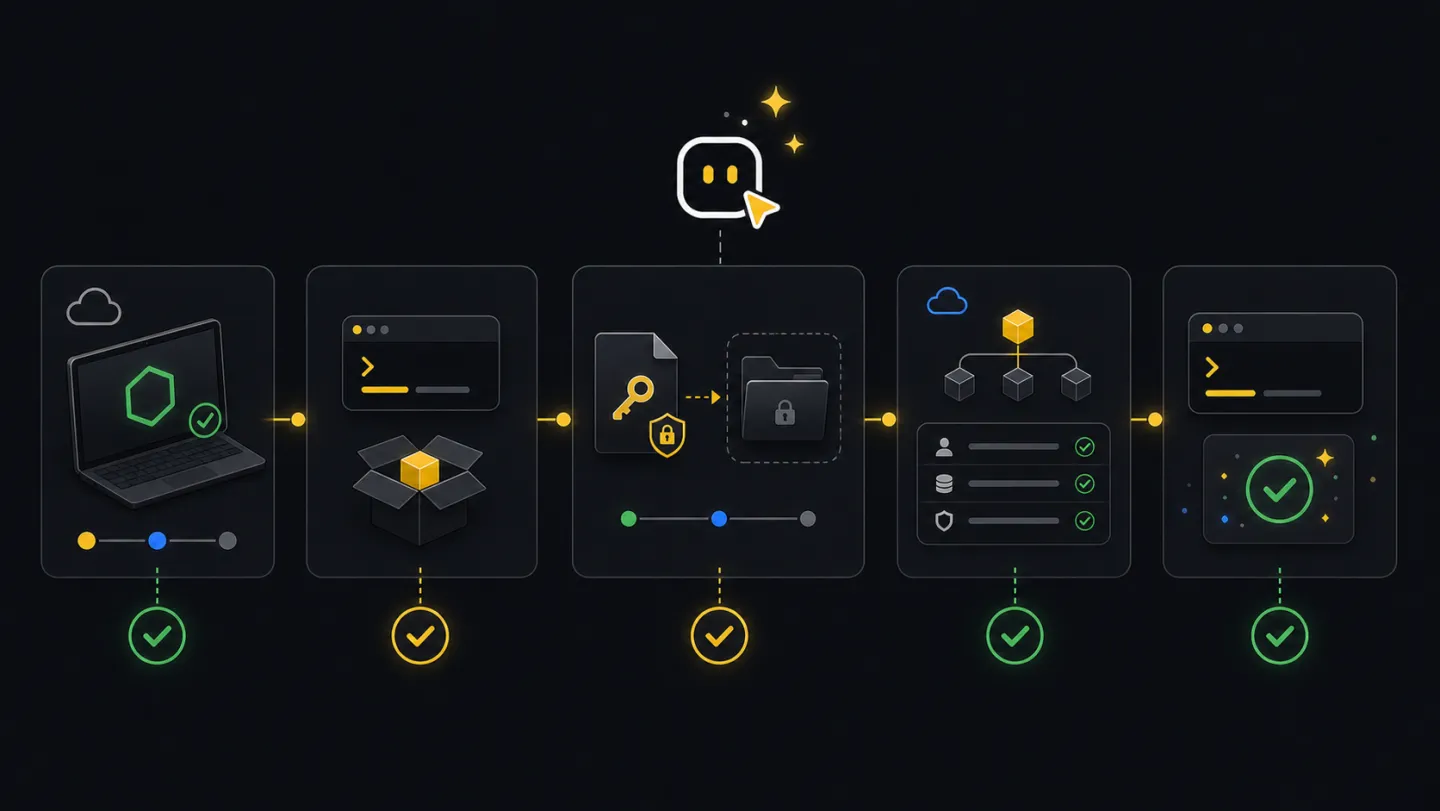
First-run prerequisites, onboarding order, and the recommended setup sequence.
Open guide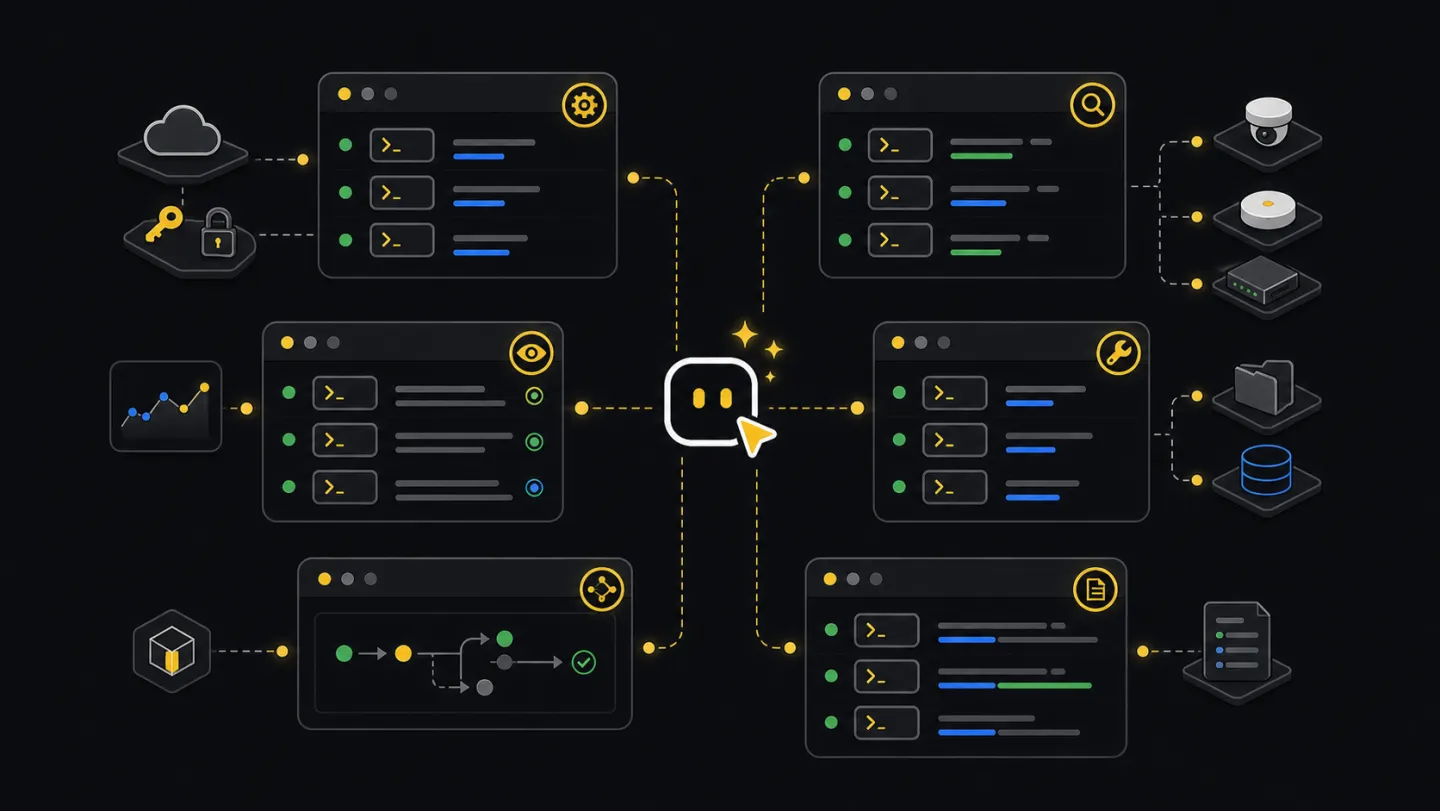
Exact command behavior, operator-facing examples, and the practical CLI surface area.
Open commands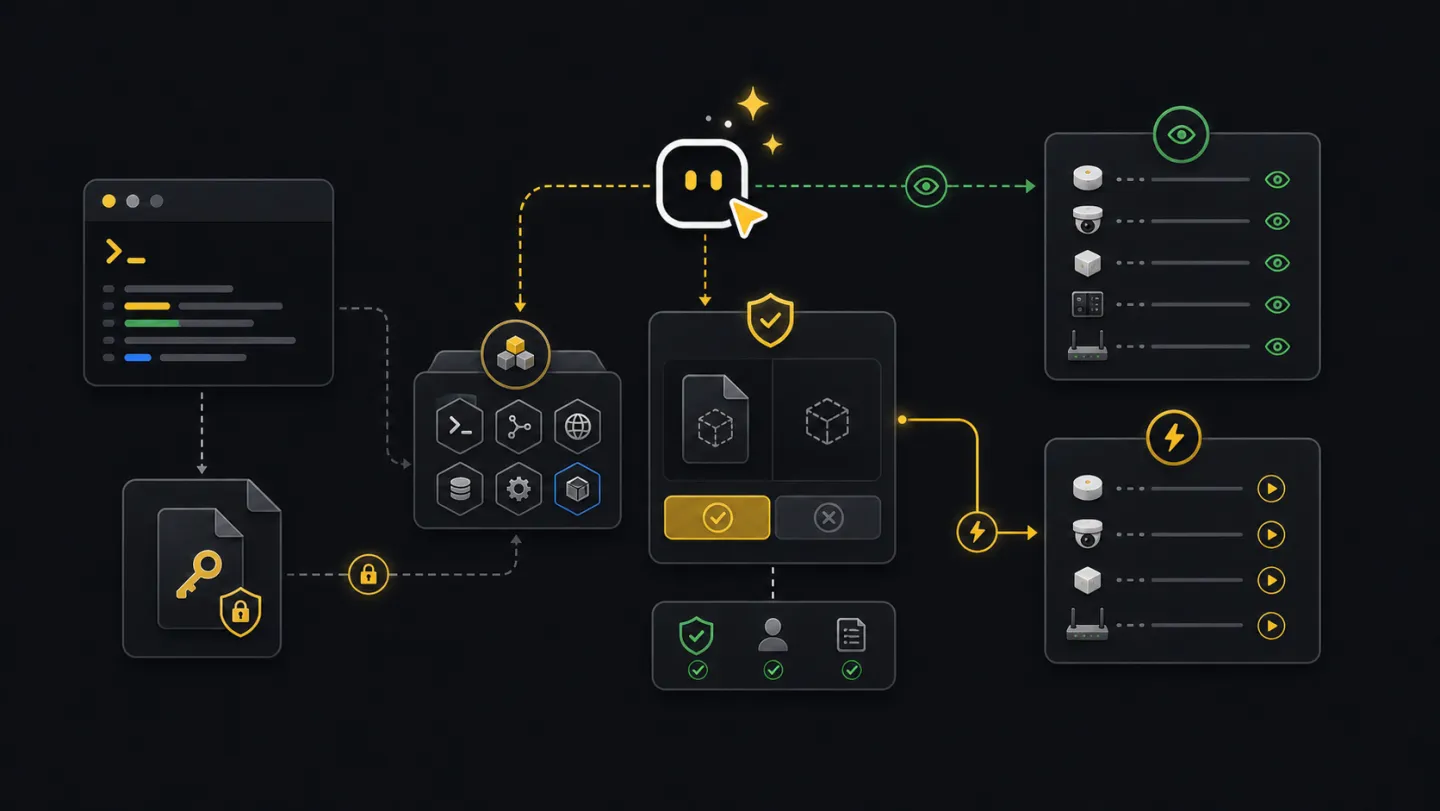
Patterns for using xyte-cli safely from Codex, Claude, or similar agent workflows.
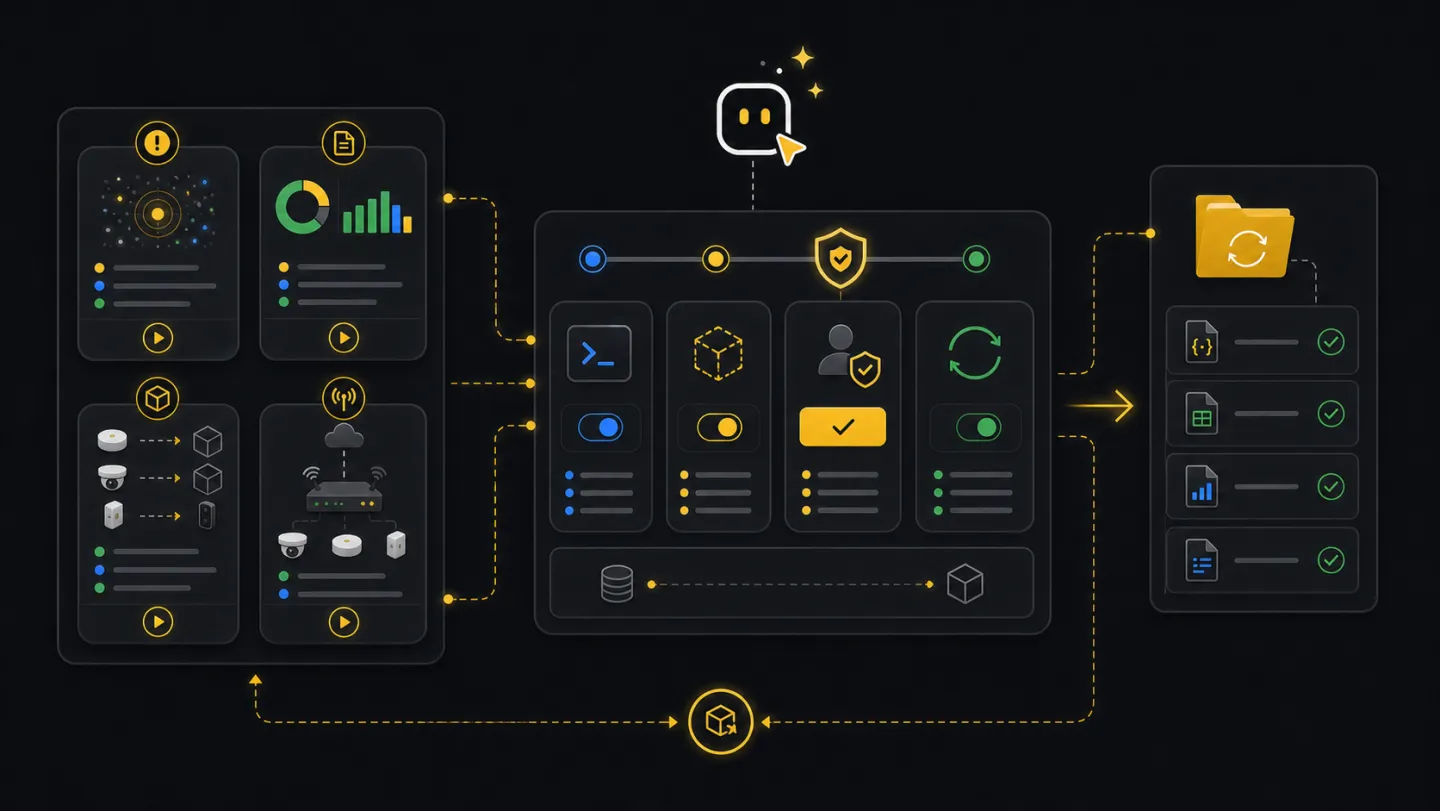
Deterministic operational flow packs for incident response and repeated operator scenarios.
Open flows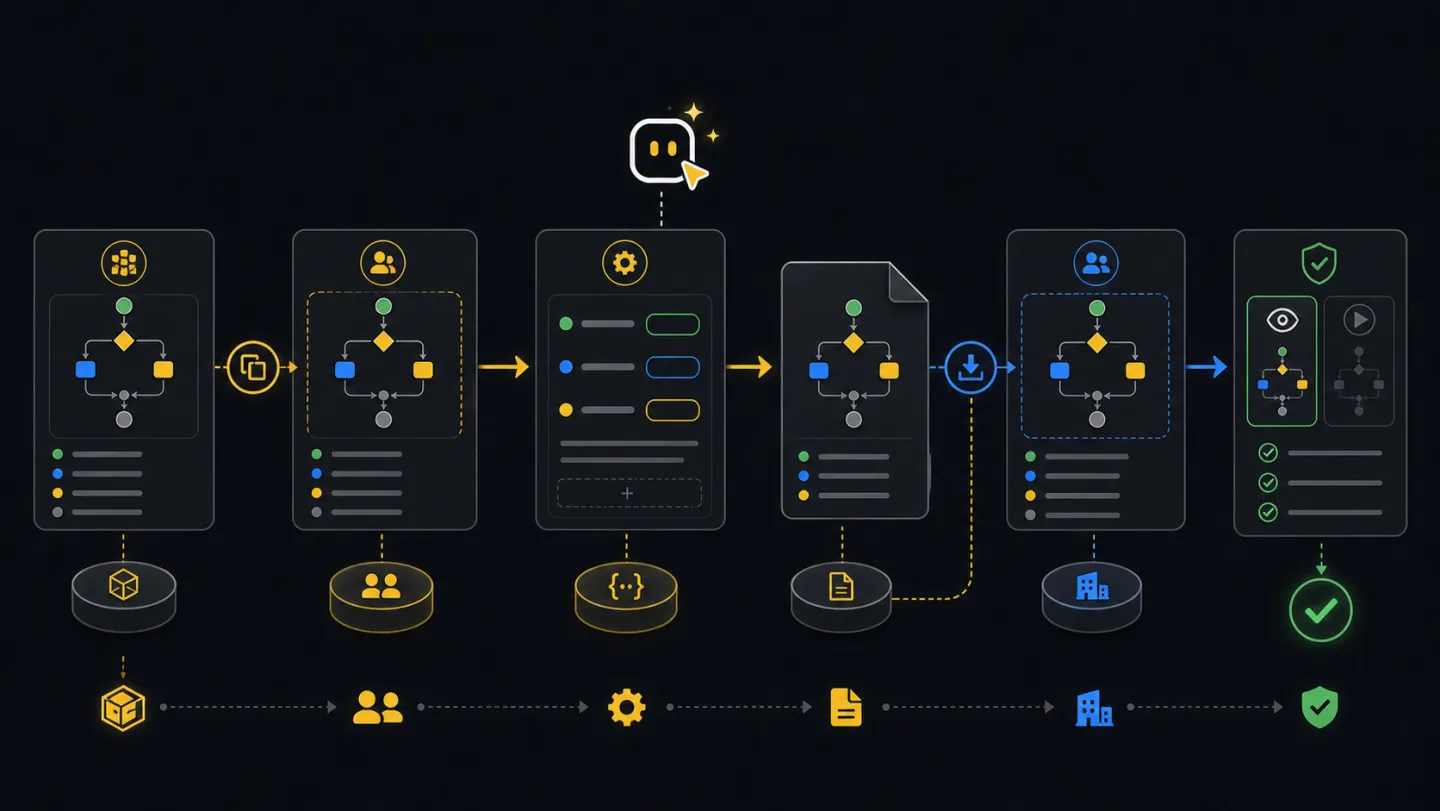
Create, edit, share, and import reusable workflow definitions for your environment.
Open authoring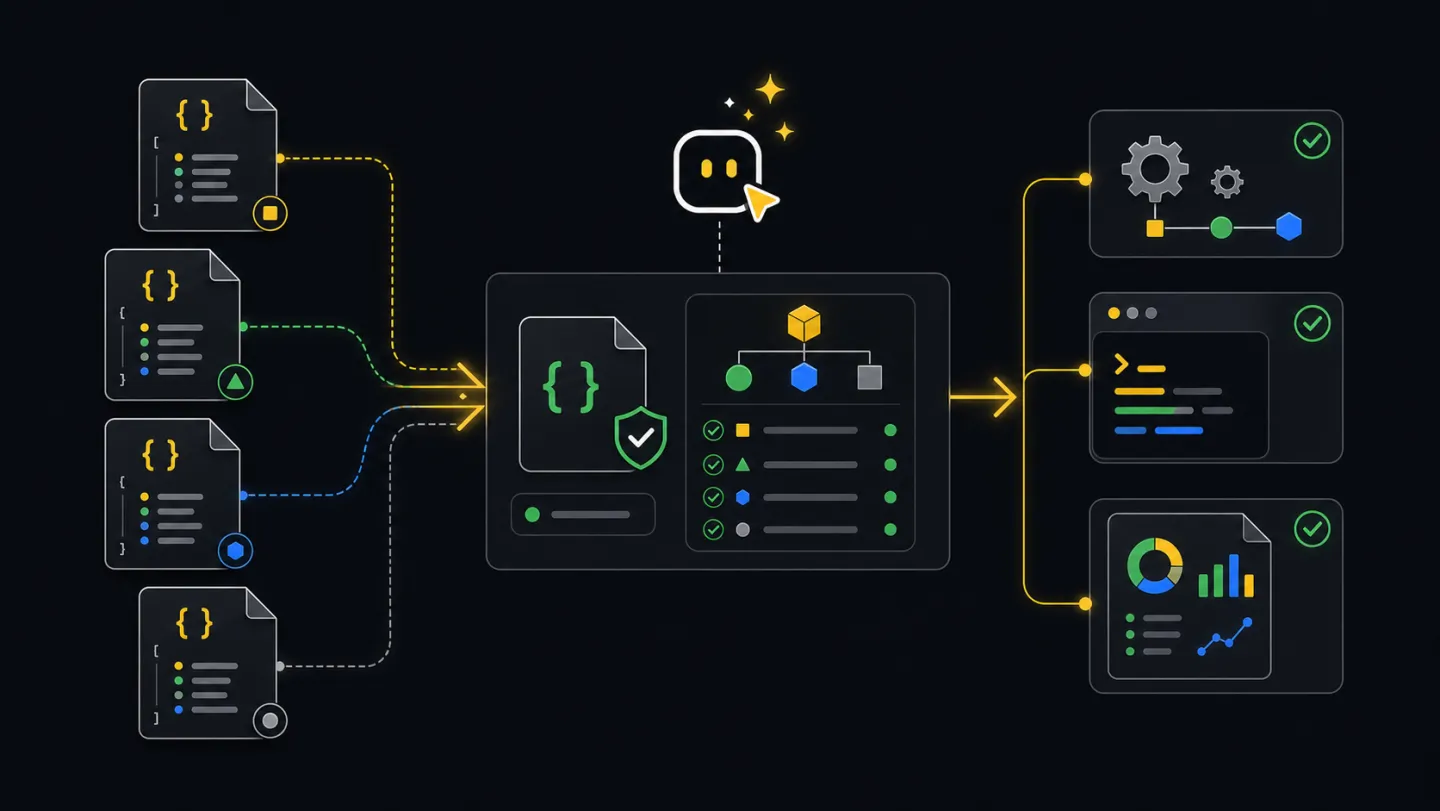
Machine-readable JSON contracts for agents, CI jobs, and integrations.
Open schemasNew to the terms used here? See the Glossary. Something not working? See the Troubleshooting guide.
Ready to run
Start operating.
Install the CLI, connect the API key, and run your first fleet inspection in under five minutes.